cPanel is a popular web hosting control panel that offers an intuitive and user-friendly interface to website owners. It is designed to simplify website management, allowing users to perform various tasks related to web hosting such as file management, domain management, email management, and more. In this article, we will explore the various aspects of cPanel hosting and how you can customize it to suit your business needs.
Step 1: Understanding cPanel Hosting
cPanel Hosting is a web hosting service that is powered by the cPanel control panel. It offers a range of features that make website management easy and hassle-free. Some of the key features of cPanel hosting include:
- File management: Users can upload, download, and manage files and folders on their website using the File Manager tool.
- Email management: Users can create, edit, and manage email accounts associated with their domain name using the Email Accounts tool.
- Domain management: Users can manage their domain names, subdomains, and aliases using the Domain Manager tool.
- Database management: Users can create and manage databases using the MySQL Databases tool.
- Application installation: Users can easily install popular web applications such as WordPress, Joomla, and Drupal using the Softaculous App Installer tool.
With cPanel hosting, website owners have complete control over their website and can perform all these tasks with just a few clicks. Moreover, cPanel hosting is reliable and secure, ensuring that your website is always up and running without any issues.
Step 2: Customizing cPanel Hosting
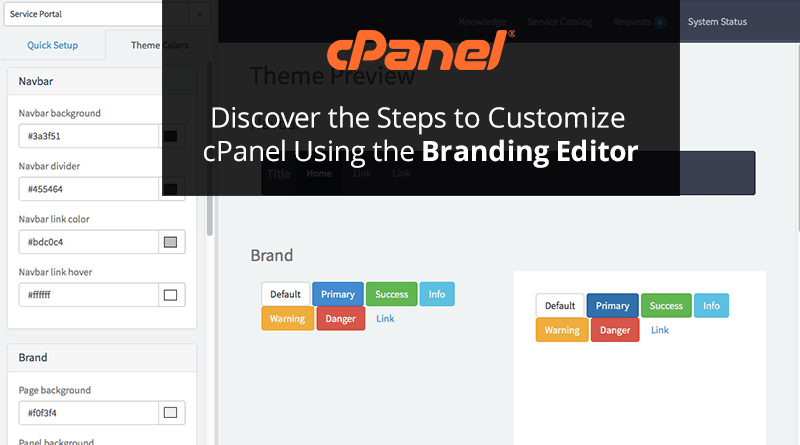
While cPanel Hosting offers a range of features, you can also customize it to suit your business needs. This can be done using the Branding Editor tool available in the cPanel control panel. The Branding Editor tool allows you to customize the look and feel of your cPanel hosting environment by adding your own branding elements such as logos, icons, and colors.
Here are the steps to customize cPanel using the Branding Editor tool:
- Login to your cPanel account and navigate to the cPanel Home screen.
- Click on the Branding Editor icon under the Preferences section.
- Customize the branding elements as per your requirement. You can upload your logo, set the color scheme, and add custom icons.
- Click the "Save" button to save your changes.
Customizing cPanel using the Branding Editor tool is a simple and effective way to make your hosting environment more personalized and professional-looking. It allows you to brand your cPanel hosting environment with your own logo and colors, making it more in line with your brand’s identity.
Step 3: Setting up a WordPress Blog with cPanel Hosting
If you are planning to set up a blog using WordPress, cPanel hosting makes it easy for you to install WordPress with just a few clicks. Here are the steps to set up a WordPress blog with cPanel hosting:
- Login to your cPanel account and navigate to the Softaculous Apps Installer.
- Click on the WordPress icon.
- Click the "Install Now" button.
- Fill in the installation details such as the domain name, site name, and admin credentials.
- Click the "Install" button to initiate the installation process.
- Once the installation is complete, you will receive a confirmation message.
- Login to your WordPress dashboard and start customizing your blog.
Setting up a WordPress blog with cPanel hosting is easy and can be done within minutes. With the Softaculous Apps Installer, you can install WordPress with just a few clicks, without the need for any coding knowledge.
Conclusion
cPanel hosting is a powerful web hosting service that offers a range of features for website owners. With its intuitive interface and reliable performance, cPanel hosting is an ideal choice for businesses of all sizes. Moreover, by customizing cPanel using the Branding Editor tool, you can create a more personalized and professional-looking hosting environment. So, whether you are planning to set up a blog or a website, cPanel hosting is the way to go.


