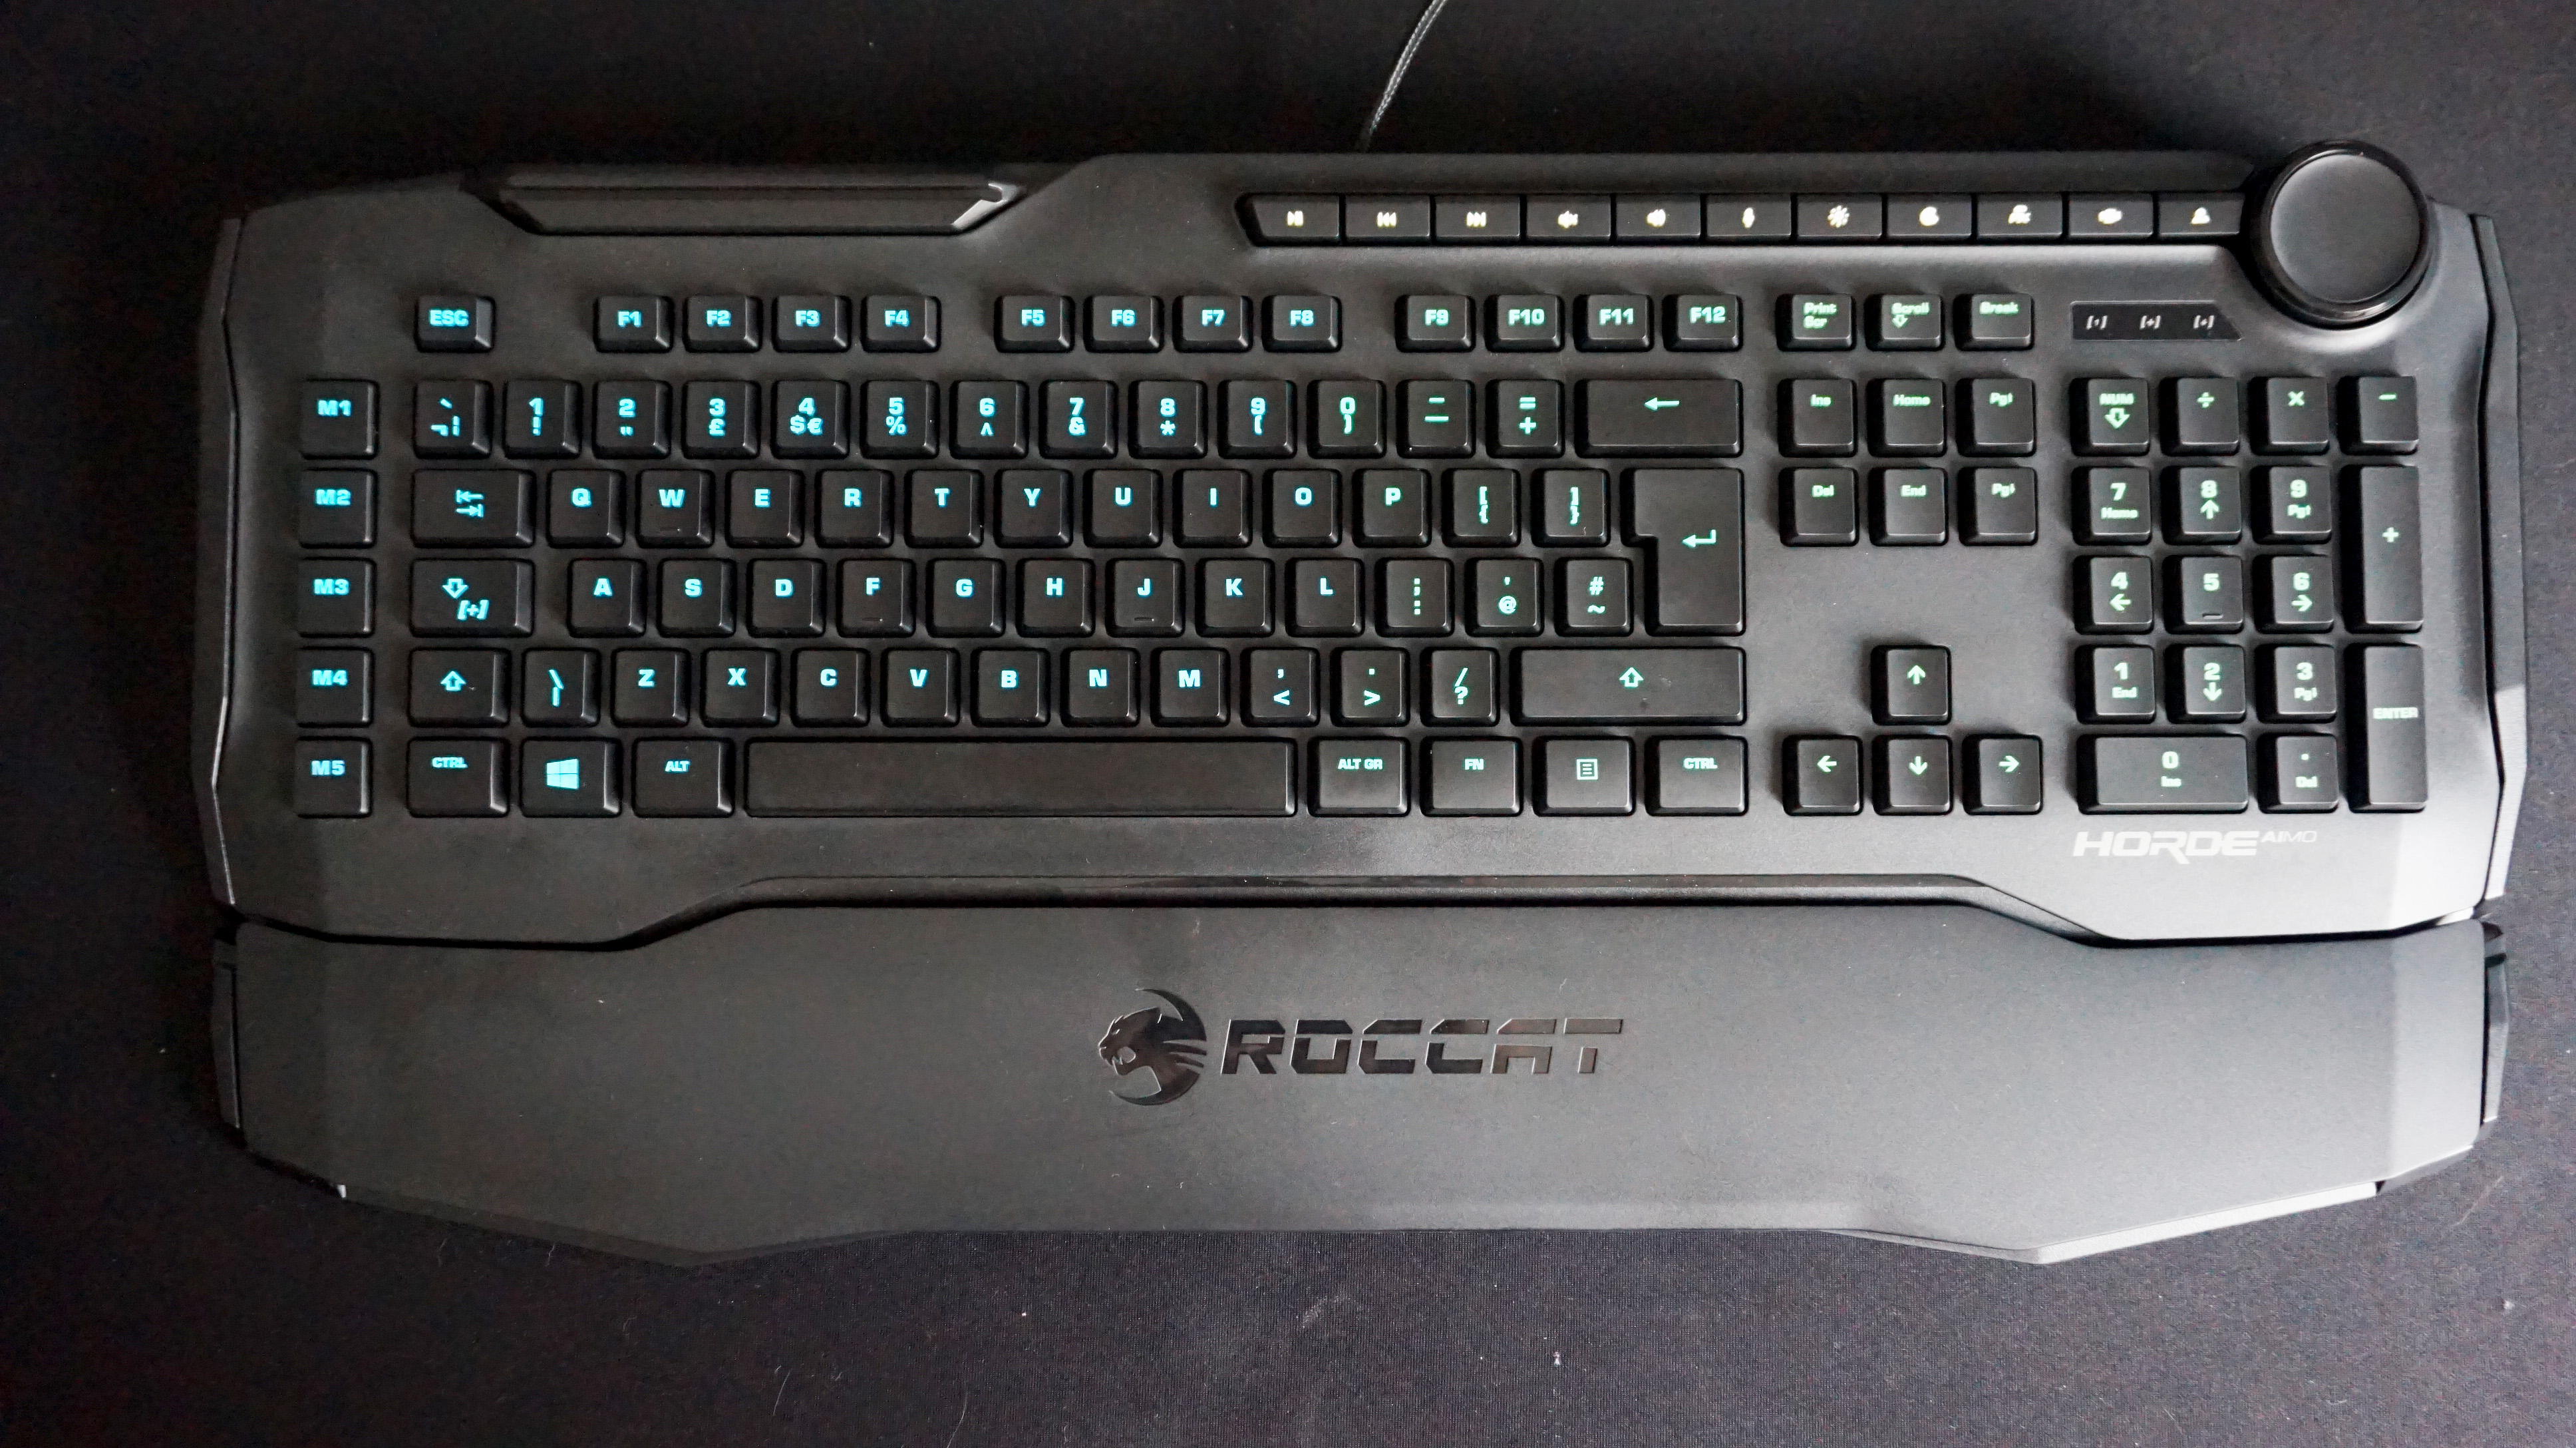
There's nothing more frustrating than trying to turn on your laptop and realizing it won't boot. Whether you're trying to get some work done, binge-watch your favorite TV show, or play some games, a laptop that won't boot can be a major inconvenience. Fortunately, there are some steps you can take to get your laptop back up and running. In this post, we'll take a look at some common reasons why a laptop won't boot and how you can fix them.

Step 1: Check the Power

Step 1: Check the Power

The first thing you should do when your laptop won't boot is to check the power. Make sure that the laptop is properly plugged in or that the battery has enough charge. Sometimes, laptops won't boot if the battery is completely drained, so try plugging in the laptop and letting it charge for a few minutes before trying again.

Step 2: Disconnect All Peripherals

Step 2: Disconnect All Peripherals

If your laptop is still not booting up, the next step is to disconnect all peripherals. Sometimes, external devices like USB drives or external hard drives can interfere with the boot process. Try unplugging all external devices and see if the laptop boots up.

Step 3: Remove the Battery

Step 3: Remove the Battery

If your laptop still won't boot, you can try removing the battery. This can help reset the laptop's power settings and may fix the issue. To remove the battery, turn off the laptop and unplug it from the power source. Then, flip the laptop over and locate the battery compartment. Remove the battery and wait for a few minutes before reinserting it and trying to turn on the laptop again.

Step 4: Check the RAM

Step 4: Check the RAM

If the laptop is still not booting up, there may be an issue with the RAM. The RAM is responsible for storing and accessing data quickly, and if it's faulty or not installed correctly, it can prevent the laptop from booting up. To check the RAM, you'll need to open up the laptop and remove the RAM modules. Check for any visible damage or debris and reinsert the modules securely. If the RAM is damaged, you may need to replace it.

Step 5: Check the Hard Drive

Step 5: Check the Hard Drive

If none of the above steps work, the issue may be with the hard drive. The hard drive is responsible for storing all of your data, and if it's damaged or corrupted, it can prevent the laptop from booting up. To check the hard drive, you'll need to open up the laptop and remove the hard drive. Check for any visible damage or debris and try connecting it to another computer to see if it's working. If the hard drive is damaged, you may need to replace it and reinstall the operating system.

Step 6: Try a System Restore or Reinstall

Step 6: Try a System Restore or Reinstall

If none of the above steps work, you can try a system restore or a complete reinstall of the operating system. If you have a restore point saved, you can try restoring the laptop to that point. If not, you may need to reinstall the operating system from scratch. Make sure to backup all important files and data before doing so, as reinstalling the operating system will wipe all data from the hard drive.

Conclusion

Dealing with a laptop that won't boot can be frustrating, but there are steps you can take to diagnose and fix the issue. Start by checking the power and disconnecting all peripherals, then move on to removing the battery, checking the RAM, and checking the hard drive. If none of those steps work, you can try a system restore or a complete reinstall of the operating system. With a little patience and some troubleshooting, you can get your laptop back up and running again.


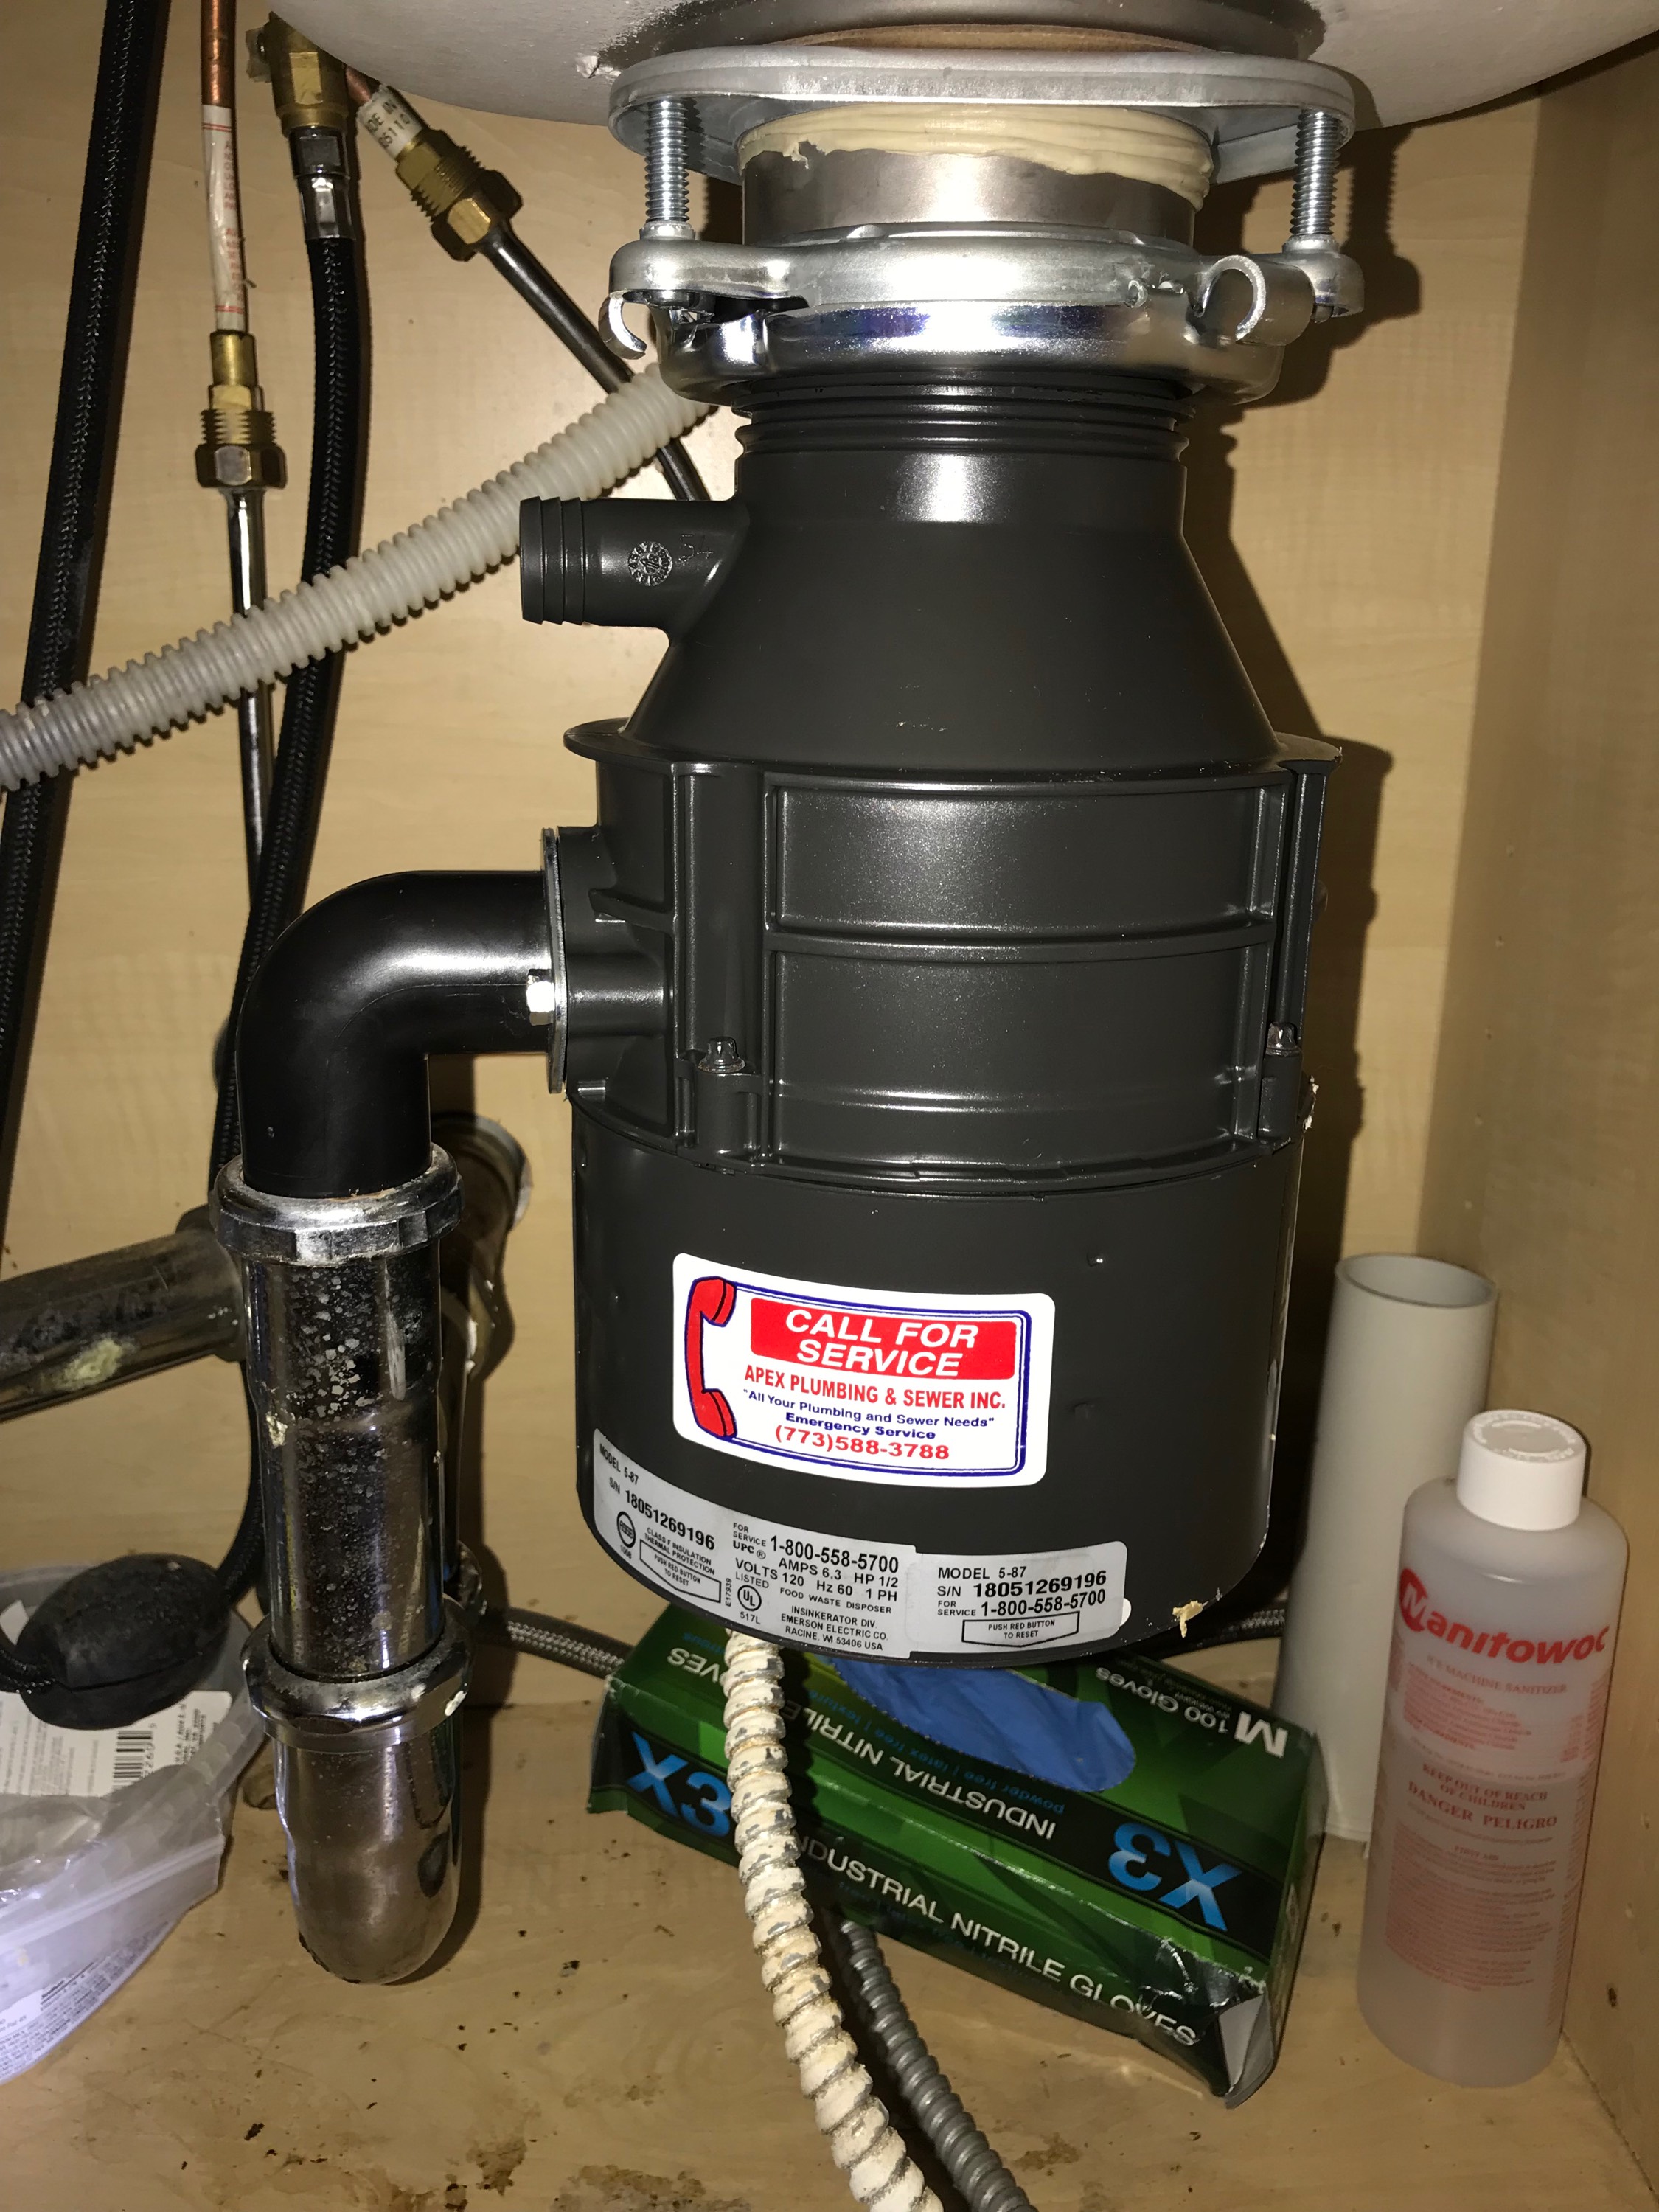
Have you ever tried a delicious burrito with Mexican white sauce? If not, you are missing out on a truly amazing flavor. Mexican white sauce is a creamy and tangy sauce that perfectly complements the spices in a burrito. This sauce is easy to make and can be used not only for burritos but also as a dipping sauce for chips, tacos, and even grilled meats. In this post, I will share a simple recipe for making Mexican white sauce at home. Let's get started!

Ingredients

Mexican white sauce ingredients

For this recipe, you will need the following ingredients:

  • 1 cup sour cream
  • 1/2 cup mayonnaise
  • 2 tablespoons lime juice
  • 1 teaspoon garlic powder
  • 1 teaspoon onion powder
  • 1/4 teaspoon cumin
  • Salt and pepper to taste

Instructions

Making Mexican white sauce

Follow these simple instructions to make Mexican white sauce:

  1. In a bowl, combine the sour cream, mayonnaise, and lime juice. Mix well until smooth.
  2. Add the garlic powder, onion powder, cumin, salt, and pepper. Mix well to combine.
  3. Taste the sauce and adjust the seasoning as needed. If you prefer a tangier sauce, add more lime juice. If you want a spicier sauce, add some hot sauce or chili powder.
  4. Chill the sauce in the refrigerator for at least 30 minutes before serving. This will allow the flavors to meld together and create a more delicious sauce.

Conclusion

Now that you know how to make Mexican white sauce for burritos, it's time to give it a try. This sauce is incredibly versatile and can be used in many different ways. You can adjust the seasoning to your taste and even add some fresh herbs like cilantro or parsley. Once you try this sauce, you'll never go back to plain old sour cream. Enjoy!


Are you a pet owner who loves to have a well-manicured lawn, but also wants to keep your pets safe and happy? If so, you may want to consider investing in pet-friendly synthetic turf. This innovative landscaping solution is perfect for pet owners who want a beautiful, lush lawn that is also safe and comfortable for their furry friends.

The Benefits of Pet-Friendly Synthetic Turf

Benefits of Pet-Friendly Synthetic Turf

There are several benefits to investing in pet-friendly synthetic turf for your home. Firstly, it is a much safer option for your pets than traditional grass. With synthetic turf, there are no harmful chemicals or fertilizers used that could potentially harm your pets if ingested. Additionally, synthetic turf eliminates the need for pesticides, which can also be dangerous to pets.

Another benefit of pet-friendly synthetic turf is that it is much easier to maintain than natural grass. With synthetic turf, you don't need to worry about mowing, watering, or fertilizing your lawn. This means that you'll have more time to spend with your pets, rather than spending your weekends doing yard work.

Finally, pet-friendly synthetic turf is also much more durable than natural grass. It can withstand heavy foot traffic and play from pets, which means that you won't have to worry about your lawn becoming patchy or damaged over time.

How Pet-Friendly Synthetic Turf is Made

How Pet-Friendly Synthetic Turf is Made

Pet-friendly synthetic turf is made from a variety of materials, including polyethylene, polypropylene, and nylon. These materials are combined to create a realistic-looking grass blade that is soft and comfortable for pets to walk on.

The grass blades are then attached to a backing material, typically made from a durable latex or polyurethane. This backing material helps to keep the grass blades upright and in place, even with heavy foot traffic from pets.

Caring for Pet-Friendly Synthetic Turf

Caring for Pet-Friendly Synthetic Turf

Caring for pet-friendly synthetic turf is incredibly easy. Unlike natural grass, you don't need to worry about watering, fertilizing, or mowing your lawn. However, there are a few things that you should do to keep your synthetic turf looking its best.

Firstly, it's important to clean up any pet waste as soon as possible. This will help to prevent any odors or stains from developing on your lawn. Additionally, you may want to rinse off your synthetic turf with a hose every so often to remove any dirt or debris that may have accumulated.

Finally, you should also consider brushing your synthetic turf every so often. This will help to keep the grass blades standing upright, which will make your lawn look more lush and realistic.

Is Pet-Friendly Synthetic Turf Right for You?

Is Pet-Friendly Synthetic Turf Right for You?

If you're considering investing in pet-friendly synthetic turf, there are a few things that you should keep in mind. Firstly, it is important to choose a high-quality product that is specifically designed for use with pets. This will ensure that the turf is durable, safe, and comfortable for your pets to walk and play on.

You should also consider your budget when choosing pet-friendly synthetic turf. While it can be more expensive than traditional grass, it is a long-term investment that will save you time and money in the long run. Plus, it can add value to your home and enhance its curb appeal.

Finally, you should also consider the climate in your area when choosing pet-friendly synthetic turf. While synthetic turf can be used in most climates, it may not be the best option for areas with extreme temperatures or heavy rainfall. Be sure to choose a product that is designed to withstand the specific climate conditions in your area.

Conclusion

Pet-friendly synthetic turf is a great landscaping solution for pet owners who want a beautiful, safe, and low-maintenance lawn. It is durable, easy to care for, and can add value to your home. If you're considering investing in pet-friendly synthetic turf, be sure to choose a high-quality product that is specifically designed for use with pets, and consider your budget and climate conditions when making your choice.


Dealing with a damaged ceiling can be a nightmare for any homeowner, but it's a problem that you can't ignore. Not only is it unsightly, but it can also pose a safety hazard. If you live in Orlando, Florida, and you're looking for a professional to repair your drywall ceiling, then you're in the right place. In this article, we'll cover everything you need to know about drywall ceiling repair in Orlando.

Causes of Drywall Ceiling Damage

Water damage on ceiling

Before you can repair a damaged drywall ceiling, you need to identify the cause of the problem. Here are some of the most common causes of drywall ceiling damage:

  • Water damage: Water leaks can cause ceiling stains, soft spots, and peeling paint.
  • Poor installation: If the drywall wasn't installed correctly, it can lead to cracks and sagging.
  • Humidity: High levels of humidity can cause the ceiling to swell and warp.
  • Structural issues: If the ceiling joists are damaged, the drywall can crack or sag.

Types of Drywall Ceiling Damage

Ceiling cracks

There are different types of drywall ceiling damage that you may encounter, and each requires a specific repair approach. Here are some of the most common types of drywall ceiling damage:

  • Cracks: These can be caused by settling, humidity, or temperature changes.
  • Holes: Holes can be caused by accidents or water damage.
  • Sagging: This can be due to poor installation or water damage.
  • Stains: Stains are often caused by water damage and can be a sign of a leak.

Drywall Ceiling Repair Process

Drywall taping

The process of repairing a drywall ceiling can vary depending on the type and extent of the damage. Here are the basic steps that a professional drywall repair contractor will follow:

  1. Inspect the damage: The contractor will first inspect the ceiling to determine the cause and extent of the damage.
  2. Prepare the area: The contractor will cover the surrounding area with plastic to protect it from dust and debris.
  3. Remove damaged drywall: The contractor will remove the damaged drywall and any insulation behind it.
  4. Replace the drywall: The contractor will cut a new piece of drywall to fit the opening and secure it in place.
  5. Tape and mud: The contractor will apply joint tape and mud to the seams and let it dry.
  6. Sand and paint: The contractor will sand the mud smooth and paint the repaired area to match the surrounding ceiling.

Hiring a Professional for Drywall Ceiling Repair

Drywall repair contractor

While some homeowners may be tempted to tackle drywall ceiling repair on their own, it's a job that's best left to professionals. Here are some reasons why you should hire a professional for your drywall ceiling repair needs:

  • Experience: Professional contractors have the experience and expertise to diagnose and fix ceiling damage effectively and efficiently.
  • Tools and equipment: Drywall ceiling repair requires specialized tools and equipment that professionals have access to.
  • Safety: Repairing a ceiling can be dangerous, especially if it involves working at heights or with electricity. Professional contractors have the necessary safety training and equipment to minimize the risk of injury.
  • Quality results: When you hire a professional, you can expect high-quality repairs that will last and look great.

Cost of Drywall Ceiling Repair in Orlando

Drywall repair cost

The cost of drywall ceiling repair in Orlando can vary depending on the extent of the damage and the contractor you hire. Here are some factors that can influence the cost of the repair:

  • Type of damage: The type of damage will impact the cost of the repair. Minor repairs, such as small cracks or holes, will cost less than major repairs that involve replacing large sections of the ceiling.
  • Size of the damaged area: The larger the damaged area, the more expensive the repair will be.
  • Accessibility: If the ceiling is difficult to access, such as in a high-ceilinged room, the repair may cost more.
  • Contractor rates: The rates charged by contractors can vary depending on their experience and reputation.

Conclusion

Dealing with a damaged drywall ceiling can be stressful, but with the help of a professional, you can get the problem fixed quickly and efficiently. By hiring a professional contractor, you can ensure that your ceiling repair is done safely and to a high standard. Remember to get quotes from multiple contractors and ask for references to ensure that you hire the best contractor for your needs.


If you're living in New York City and looking for a reliable internet service provider, look no further than Verizon FiOS. With its fiber optic network and lightning-fast speeds, it's no wonder why so many New Yorkers are choosing Verizon for their internet needs.

Lightning-Fast Speeds

A person using a computer with a speedometer in the background

One of the biggest advantages of Verizon FiOS is its lightning-fast speeds. With speeds up to 940/880 Mbps (download/upload), you'll have no problem streaming videos, downloading large files, or gaming with virtually no lag. Plus, with its fiber optic network, you can expect consistent speeds even during peak usage times.

Reliable Network

A technician working on a fiber optic network

Another advantage of Verizon FiOS is its reliable network. Unlike cable internet, which shares bandwidth with your neighbors, FiOS uses a dedicated fiber optic network that delivers fast and reliable internet speeds straight to your home. This means you won't experience the slowdowns and outages that can occur with cable internet.

Competitive Pricing

A person holding a laptop and a calculator

Verizon FiOS also offers competitive pricing for its internet plans. With plans starting as low as $39.99/month, you can get fast and reliable internet without breaking the bank. Plus, with no annual contract required, you can cancel or switch plans at any time without penalty.

Great Customer Service

A customer service representative on the phone

Finally, Verizon FiOS is known for its great customer service. Whether you have a question about your bill or need technical support, you can count on their knowledgeable and friendly customer service representatives to help you out. Plus, with 24/7 support available, you can get help whenever you need it.

Conclusion

Overall, if you're looking for fast, reliable internet with great customer service, Verizon FiOS is the way to go. With its lightning-fast speeds, dedicated fiber optic network, competitive pricing, and excellent customer service, it's no wonder why so many New Yorkers are choosing Verizon for their internet needs.


If you are a CareCredit credit cardholder, you may be wondering if your card will expire. The short answer is yes, your CareCredit credit card will expire. However, the expiration date may vary depending on the type of card you have.

CareCredit Credit Card Expiration Dates

The expiration date for your CareCredit credit card can typically be found on the front of the card, near the bottom. It is usually listed as a month and year, such as "06/23," which would indicate that the card expires in June of 2023.

CareCredit credit cards typically have an expiration date of two or three years from the date the card was issued. However, some cards may have a shorter or longer expiration date, depending on the terms and conditions of your specific card.

CareCredit credit card expiration date

What Happens When Your CareCredit Credit Card Expires?

When your CareCredit credit card expires, you will need to apply for a new card if you want to continue using the credit line. You will typically receive a replacement card in the mail a few weeks before your current card expires.

If you do not receive a replacement card, or if your replacement card is lost or stolen, you should contact CareCredit customer service immediately to report the issue and request a new card. You can reach CareCredit customer service by calling the phone number on the back of your card or by logging into your account online.

CareCredit credit card replacement

How to Renew Your CareCredit Credit Card

If your CareCredit credit card is about to expire or has already expired, you can renew your card by applying for a new one. The application process is typically quick and easy, and you can often apply online or over the phone.

Before you apply for a new CareCredit credit card, make sure that you meet the eligibility requirements and that you have all the necessary documentation and information on hand. You may need to provide your Social Security number, proof of income, and other personal and financial information.

CareCredit credit card application

Conclusion

In conclusion, if you have a CareCredit credit card, it will expire at some point. The expiration date will typically be listed on the front of your card, and you can expect to receive a replacement card in the mail before your current card expires.

If you need to renew your CareCredit credit card, you can typically apply for a new one online or over the phone. Just make sure that you meet the eligibility requirements and have all the necessary documentation and information on hand.


Having a garbage disposal in your kitchen can make your life so much easier. No more scraping food scraps into the trash can or dealing with unpleasant odors. However, like any other appliance, garbage disposals can break down or malfunction over time. In this post, we'll give you some tips and tricks for repairing your garbage disposal in Orlando.

How to Know if Your Garbage Disposal Needs Repairing

Garbage Disposal Repairing

Before we get into the actual repair process, you need to know if your garbage disposal needs repairing in the first place. Here are some signs to look out for:

  • The disposal is making strange noises or grinding sounds
  • Water is backing up into the sink
  • The disposal is jammed and won't turn on
  • There is a foul odor coming from the disposal
  • The disposal is leaking

If you notice any of these signs, it's time to take action and repair your garbage disposal.

How to Repair Your Garbage Disposal

Garbage Disposal Repair

Now that you know your garbage disposal needs repairing, it's time to get down to business. Here's what you need to do:

  1. Turn off the power: Before doing anything, make sure to turn off the power to your garbage disposal. You can do this by unplugging the disposal or turning off the circuit breaker that powers it.
  2. Check for jamming: Jamming is a common issue with garbage disposals. To check if your disposal is jammed, use a flashlight to look inside the disposal. If you see anything stuck in there, use tongs or pliers to remove the object.
  3. Reset the disposal: If your disposal is still not working, try resetting it. Look for a small red or black button on the bottom of the disposal and press it. This will reset the disposal and may fix the issue.
  4. Clean the disposal: Over time, food scraps and other debris can build up in your garbage disposal, causing odors and clogs. To clean your disposal, pour a mixture of vinegar and baking soda down the drain and let it sit for a few minutes. Then, run hot water down the drain to flush out the debris.
  5. Replace the disposal: If none of the above steps work, it may be time to replace your garbage disposal. Contact a professional plumber to help you with this process.

Preventing Garbage Disposal Issues

Garbage Disposal Prevention

While repairing your garbage disposal is not always avoidable, there are some steps you can take to prevent issues from happening in the first place. Here are some tips:

  • Avoid putting non-food items down the disposal, such as plastics, metal, or glass.
  • Do not put fibrous foods down the disposal, such as celery or corn husks.
  • Runwater down the drain after using the disposal to help flush out any remaining debris.
  • Regularly clean the disposal by pouring vinegar and baking soda down the drain.
  • Keep the disposal blades sharp by grinding ice cubes or small bones occasionally.

By following these simple steps, you can help keep your garbage disposal in good working condition and avoid costly repairs.

Conclusion

A malfunctioning garbage disposal can be a frustrating and unpleasant problem. However, with the tips and tricks we've provided, you can repair your garbage disposal and prevent issues from happening in the future. Remember to always turn off the power before attempting any repairs, and if all else fails, contact a professional plumber to help you with the repair process.


When your dishwasher starts acting up, it can be frustrating and inconvenient. Not only do you have to deal with the hassle of hand-washing dishes, but you may also be worried about the cost of repairing or replacing the appliance. Fortunately, there are many DIY dishwasher repair tips that can help you diagnose and fix common issues without breaking the bank.

Common Dishwasher Problems and How to Fix Them

The first step in DIY dishwasher repair is identifying the problem. Here are some common issues you may encounter and tips for fixing them:

  1. Dishwasher Not Cleaning Dishes Properly

If your dishwasher is not cleaning dishes properly, the first thing to check is the spray arm. Make sure it is not clogged or obstructed in any way. You should also check the dishwasher's filter to make sure it is not dirty or clogged. If these parts are clean and functioning properly, you may need to replace the dishwasher's detergent dispenser or the dishwasher pump.

  1. Dishwasher Leaking

A leaking dishwasher can be a serious issue, as it can cause water damage to your kitchen floor and cabinets. If you notice water leaking from your dishwasher, the first step is to turn off the power and water supply to the appliance. Next, check the dishwasher's door gasket and make sure it is not damaged or worn out. If the gasket is in good condition, you may need to replace the dishwasher's inlet valve or water pump.

  1. Dishwasher Not Draining

If your dishwasher is not draining properly, the first thing to check is the drain hose. Make sure it is not kinked or obstructed in any way. You should also check the dishwasher's drain pump and make sure it is functioning properly. If these parts are clean and functioning properly, you may need to replace the dishwasher's drain solenoid or motor.

Tools and Supplies You'll Need

Before you start any DIY dishwasher repair project, it's important to make sure you have the right tools and supplies on hand. Here are some common items you may need:

  • Screwdrivers
  • Pliers
  • Wrenches
  • Multimeter
  • Replacement parts (e.g., spray arm, filter, gasket, valve, pump, solenoid, motor)

DIY Dishwasher Repair Tips

Once you have identified the problem and gathered your tools and supplies, it's time to get to work. Here are some tips to keep in mind as you tackle your DIY dishwasher repair project:

  1. Safety First

Before you start any dishwasher repair project, it's important to turn off the power and water supply to the appliance. You should also wear protective gloves and eyewear to prevent injury.

  1. Follow Instructions

When replacing parts or making repairs, it's important to follow the manufacturer's instructions carefully. This will ensure that the repair is done correctly and safely.

  1. Take Your Time

DIY dishwasher repair can be time-consuming, so be patient and take your time. Rushing can lead to mistakes and may even make the problem worse.

  1. Consider Professional Help

If you are not comfortable making the repairs yourself, or if the problem is more complex than you anticipated, it may be best to call a professional dishwasher repair service.

Conclusion

DIY dishwasher repair can be a cost-effective and satisfying way to fix common appliance issues. By following these tips and using the right tools and supplies, you can diagnose and fix many problems on your own. However, it's important to put safety first and consider professional help if you need it. With a little know-how and elbow grease, you can have your dishwasher back up and running in no time.


If you ever encounter issues with your garbage disposal, don't worry! You're not alone. Many people experience common problems that can easily be fixed at home. In this post, we will go through a few common issues and their solutions, so you can have a fully functional garbage disposal again.

Problem 1: Garbage disposal won't turn on

The first thing to check when your garbage disposal won't turn on is whether it is receiving power. Check the switch or circuit breaker to see if they are switched on. If they are, but your disposal is still not working, it could be due to a malfunctioning motor or wiring.

garbage disposal

Problem 2: Garbage disposal is jammed

If your disposal is producing a humming noise, but the blades won't turn, then it's likely that your garbage disposal is jammed. The first thing to do is to turn off the power, then use a flashlight to shine into the disposal. Use pliers, tweezers, or tongs to remove any debris that may be blocking the blades. Once you've cleared the debris, press the reset button on the disposal unit and turn the power back on.

garbage disposal jammed

Problem 3: Garbage disposal produces foul odor

If your garbage disposal smells bad, it could be due to accumulated food waste that has not been fully disposed of. To eliminate the odor, put a few ice cubes in the unit and grind them up, followed by pouring baking soda and vinegar down the disposal. This combination will help to break down and clear any food particles stuck inside, and eliminate the odor.

garbage disposal odor

Problem 4: Garbage disposal is leaking

If you notice that water is leaking from your garbage disposal, it may be due to loose connections or damaged pipes. Check the connections and tighten them if necessary. If this doesn't solve the problem, check the waste pipe and flange for cracks or damages. If you notice any damage, it's best to seek the help of a professional plumber to repair or replace the damaged parts.

garbage disposal leaking

Problem 5: Garbage disposal is making loud noises

If you hear loud or strange noises coming from your garbage disposal, it's possible that there is a foreign object caught in the blades. Turn off the power and use pliers or tweezers to remove any foreign object that may be stuck in the unit. Once you've removed the object, turn on the power and test the disposal to see if it's working normally again.

In conclusion, some common problems can occur with a garbage disposal, but many of them can be easily fixed at home. By following the tips and suggestions outlined in this post, you'll be able to troubleshoot and solve any issues that you may encounter with your garbage disposal. Remember to always put safety first and disconnect the power before attempting any repairs.


Bankruptcy can be a scary and overwhelming process for many people. It often comes with a lot of stress and uncertainty, especially when it comes to the protection of one's assets. So, will all your assets be taken away if you file for bankruptcy? Here's what you need to know.

Protecting Assets in Bankruptcy

Protecting Assets in Bankruptcy

Many individuals fear that bankruptcy will result in the loss of all their assets. However, there are ways to protect your assets during the bankruptcy process. This includes understanding what assets are exempt from seizure, such as personal property and vehicles up to a certain value, retirement accounts, and some types of income.

Expect to disclose all your assets and creditors. Exemptions will differ in each state, and you'll want to be transparent and honest with your assets during the bankruptcy process.

When Should You File For Bankruptcy?

When Should You File For Bankruptcy?

Bankruptcy may seem like an all-or-nothing decision, but it's essential to understand when it is appropriate to file for bankruptcy. The bankruptcy process should be considered as a solution to gain financial stability, not as an escape from debts.

If you're struggling to pay your bills or are being sued by creditors or debt collectors, filing for bankruptcy may be the right decision. However, it's essential to keep in mind that bankruptcy should be a last resort, and all other options should be explored first. A credit counseling session may be required, or a repayment plan may be developed with the help of your attorney before filing bankruptcy.

10 Tips to Avoid Bankruptcy

10 Tips to Avoid Bankruptcy

Preventing bankruptcy starts with careful financial management. Here are ten tips that can help you avoid filing for bankruptcy:

  1. Create a budget and stick to it.
  2. Stay on top of your bills and pay them on time.
  3. Avoid accruing excessive amounts of debt.
  4. Build an emergency fund to use in unexpected expenses.
  5. Be cautious when taking out loans or financing.
  6. Seek advice from a financial planner or credit counselor.
  7. Consider debt consolidation or settlement options with your creditors.
  8. Avoid using credit cards to pay for everyday expenses.
  9. Be honest with your financial situation and seek help if needed.
  10. Consider using cash instead of relying on credit cards.

Protecting Your Assets During Bankruptcy

Protecting Your Assets During Bankruptcy

Another concern during the bankruptcy process is how to protect your assets. Here are a few things to keep in mind:

  • Disclose all your assets in your bankruptcy petition, including property, finances, and personal items.
  • Understand your state's exemption laws and protect your assets accordingly.
  • Consider hiring an experienced bankruptcy attorney to guide you through the process and protect your assets.
  • Be transparent and honest during the bankruptcy process to avoid potential issues.

Remember, filing for bankruptcy may not be the ideal solution for you, but it can help in situations where debt is overwhelming. By understanding how to protect your assets during the bankruptcy process and seeking professional guidance, you can alleviate some of the stress and uncertainty that comes with the process.

In conclusion, bankruptcy can be a tricky and scary process, but it's essential to understand how it works and how to protect your assets. With the right preparation and guidance, you can navigate the bankruptcy process and come out on the other side with a fresh start.


The United States is home to some of the most beautiful lakes in the world. From the crystal-clear waters of Lake Tahoe to the stunning mountain scenery of Lake Louise, there is no shortage of breathtaking natural beauty to explore. In this article, we'll take a look at the top 5 most beautiful lakes in the United States, each with its unique features and attractions.

1. Crater Lake, Oregon

Crater Lake is one of the most unique and stunning lakes in the world. Formed by a collapsed volcano, the lake is incredibly deep and boasts some of the clearest water in the world. The intense blue color of the water is due to its incredible depth and purity, making it one of the most beautiful sights in the United States. Visitors to Crater Lake can enjoy a range of outdoor activities, including hiking, fishing, and camping, as well as taking in the stunning views of the surrounding mountains and forests.

2. Lake Tahoe, California and Nevada

Lake Tahoe is one of the most popular tourist destinations in the United States, and for good reason. The lake is surrounded by breathtaking mountains and forests, and its crystal-clear waters are perfect for swimming, boating, and other water-based activities. Visitors to Lake Tahoe can also enjoy a range of winter sports, including skiing and snowboarding, as well as hiking, camping, and fishing in the summer months.

3. Lake Louise, Alberta, Canada

Although technically located in Canada, Lake Louise is just too beautiful to leave off this list. Surrounded by stunning mountain scenery, the lake is famous for its turquoise waters and the picturesque Fairmont Chateau Lake Louise hotel, which overlooks the lake. Visitors to Lake Louise can enjoy a range of outdoor activities, including hiking, skiing, and ice skating, as well as taking in the stunning views of the surrounding mountains and forests.

4. Lake Champlain, New York and Vermont

Lake Champlain is a beautiful freshwater lake located in the northeastern United States, between the states of New York and Vermont. The lake is surrounded by stunning mountain scenery, and its crystal-clear waters are perfect for swimming, boating, and fishing. Visitors to Lake Champlain can also enjoy a range of outdoor activities, including hiking, camping, and kayaking.

5. Lake Powell, Arizona and Utah

Lake Powell is one of the most beautiful lakes in the southwestern United States. Located on the border of Arizona and Utah, the lake is surrounded by stunning red rock formations and offers a range of outdoor activities, including swimming, boating, and fishing. Visitors to Lake Powell can also explore the nearby Glen Canyon National Recreation Area, which is home to a range of stunning natural wonders, including canyons, waterfalls, and rock formations.

Conclusion

The United States is home to some of the most beautiful lakes in the world, each with its unique features and attractions. From the crystal-clear waters of Crater Lake to the stunning mountain scenery of Lake Louise, there is no shortage of breathtaking natural beauty to explore. Whether you're looking for a relaxing vacation or an action-packed adventure, these beautiful lakes have something for everyone.

Reference:

  • "Crater Lake National Park." National Park Service, U.S. Department of the Interior, https://www.nps.gov/crla/index.htm.
  • "Lake Tahoe." Visit California, https://www.visitcalifornia.com/attraction/lake-tahoe.
  • "Lake Louise." Banff & Lake Louise Tourism, https://www.banfflakelouise.com/lake-louise.
  • "Lake Champlain." Lake Champlain Regional Chamber of Commerce, https://www.vermont.org/visit-vermont/lake-champlain/.
  • "Lake Powell." National Park Service, U.S. Department of the Interior, https://www.nps.gov/glca/index.htm.

Disclaimer: The images used in this article are for illustration purposes only. We do not own the rights to the images and are not responsible for any copyright issues that may arise.


If you have a membrane keyboard, you might be wondering how to connect it to different devices such as your computer, laptop, tablet, or smartphone. In this post, we will guide you through the process of connecting your membrane keyboard to various devices.

Connect Your Membrane Keyboard to a Computer

computer keyboard

Connecting your membrane keyboard to a computer is easy. All you need to do is plug the keyboard's USB cable into an available USB port on your computer. Your computer should automatically recognize the keyboard and start using it. In case your computer doesn't recognize the keyboard, you might need to install the keyboard drivers that came with your keyboard. Once you have installed the drivers, your computer should start using your membrane keyboard without any issues.

Connect Your Membrane Keyboard to a Laptop

laptop keyboard

Connecting your membrane keyboard to a laptop is similar to connecting it to a computer. You can either connect the keyboard to your laptop's USB port or use a USB hub if your laptop has limited USB ports. Alternatively, you can use a Bluetooth adapter to connect your membrane keyboard to your laptop wirelessly. To connect your keyboard to your laptop via Bluetooth, turn on the Bluetooth feature on your laptop and put your keyboard in pairing mode. Your laptop should detect your keyboard, and you can start using it immediately.

Connect Your Membrane Keyboard to a Tablet

tablet keyboard

If you have a tablet, you can use your membrane keyboard with it by connecting it via Bluetooth. First, turn on the Bluetooth feature on your tablet and put your keyboard in pairing mode. Your tablet should detect your keyboard, and you can start using it immediately. In case your tablet doesn't have Bluetooth, you can use a USB OTG (On-The-Go) cable to connect your keyboard to your tablet. The USB OTG cable allows you to connect USB devices to your tablet's micro-USB port.

Connect Your Membrane Keyboard to a Smartphone

smartphone keyboard

Connecting your membrane keyboard to your smartphone can be useful if you need to type long messages or emails. To connect your keyboard to your smartphone, you can either use a Bluetooth adapter or a USB OTG cable. First, turn on the Bluetooth feature on your smartphone and put your keyboard in pairing mode. Your smartphone should detect your keyboard, and you can start using it immediately. In case your smartphone doesn't have Bluetooth, you can use a USB OTG cable to connect your keyboard to your smartphone's micro-USB port.

Conclusion

In conclusion, connecting your membrane keyboard to different devices is easy, and you can use your keyboard with a wide range of devices. Whether you have a computer, laptop, tablet, or smartphone, you can use your membrane keyboard to type comfortably and efficiently. We hope this guide has been helpful in showing you how to connect your membrane keyboard to different devices.


Gaming keyboards are an integral part of any gaming setup. They can make or break your gaming experience, which is why it's essential to invest in a keyboard that suits your needs. In this article, we've compiled a list of the best gaming keyboards of 2019, both mechanical and membrane, to help you make an informed decision.

Best gaming keyboard of 2019

1. Logitech G513

Logitech G513

The Logitech G513 is an excellent choice for those looking for a high-quality mechanical gaming keyboard. It features Romer-G Tactile switches that are highly responsive and offer a satisfying clicky feel when typing. The keys have customizable RGB lighting, which can be synced with other Logitech gaming peripherals using the Logitech Gaming Software. The G513 also comes with a detachable wrist rest for added comfort during extended gaming sessions.

2. Corsair K95 Platinum

Corsair K95 Platinum

The Corsair K95 Platinum is a top-of-the-line mechanical gaming keyboard that boasts a sleek design and exceptional performance. It features Cherry MX Speed switches that offer lightning-fast response times and a unique brushed aluminum frame that is both durable and aesthetically pleasing. The K95 Platinum also has 6 programmable macro keys, which can be customized to your liking using the Corsair Utility Engine software.

3. Razer Ornata Chroma

Razer Ornata Chroma

The Razer Ornata Chroma is a hybrid membrane mechanical gaming keyboard that provides the best of both worlds. It features Razer's Mecha-Membrane switches that combine the tactile feel of a mechanical keyboard with the soft cushioning of a membrane keyboard. The Ornata Chroma also has customizable RGB lighting, fully programmable macro keys, and a durable build quality that can withstand heavy use.

4. HyperX Alloy FPS Pro

HyperX Alloy FPS Pro

The HyperX Alloy FPS Pro is a compact mechanical gaming keyboard that is perfect for gamers who want a minimalist setup. It features Cherry MX Red switches that offer a smooth linear feel and are highly responsive. The Alloy FPS Pro also has 100% anti-ghosting and N-key rollover, which ensures that every keystroke registers accurately. It has a durable steel frame and detachable cable for added convenience.

5. SteelSeries Apex M750

SteelSeries Apex M750

The SteelSeries Apex M750 is a full-featured mechanical gaming keyboard that boasts exceptional build quality and performance. It features SteelSeries' QX2 linear mechanical switches that offer a smooth and consistent feel when typing. The Apex M750 also has customizable RGB lighting and fully programmable macro keys that can be customized using the SteelSeries Engine Software.

Conclusion

Gaming keyboards come in all shapes and sizes, and there is no one-size-fits-all solution. The Logitech G513, Corsair K95 Platinum, Razer Ornata Chroma, HyperX Alloy FPS Pro, and SteelSeries Apex M750 are some of the best gaming keyboards of 2019, each with their unique features and benefits. When choosing a keyboard, it's crucial to consider your gaming style, budget, and personal preferences. We hope this list has helped you in your quest for the perfect gaming keyboard.


Free How-To Tutorials

Search This Blog

Menu Halaman Statis